Showing posts with label blog hop. Show all posts

Monday, February 11, 2013

Something Machine Appliqued [Blog Hop]

Welcome the last stop of the Something New Sampler Hop! That's right, I'm the caboose! Woot woot!

Amy from the Cute Life asked me if I'd like to try something new this year and share it with you all. After some thought, I decided on machine applique. I have to admit, this wasn't totally new to me. I had tried and failed in the past. So I wanted to tackle it again. My friend Denise gave me the courage to try again and helped me iron out the kinks. Big thanks to her for the help. Sometimes you just need someone to hold your hand. Hopefully this will be that for you! This was my first project to use my new skill and it was fun to put this little tutorial together for you.

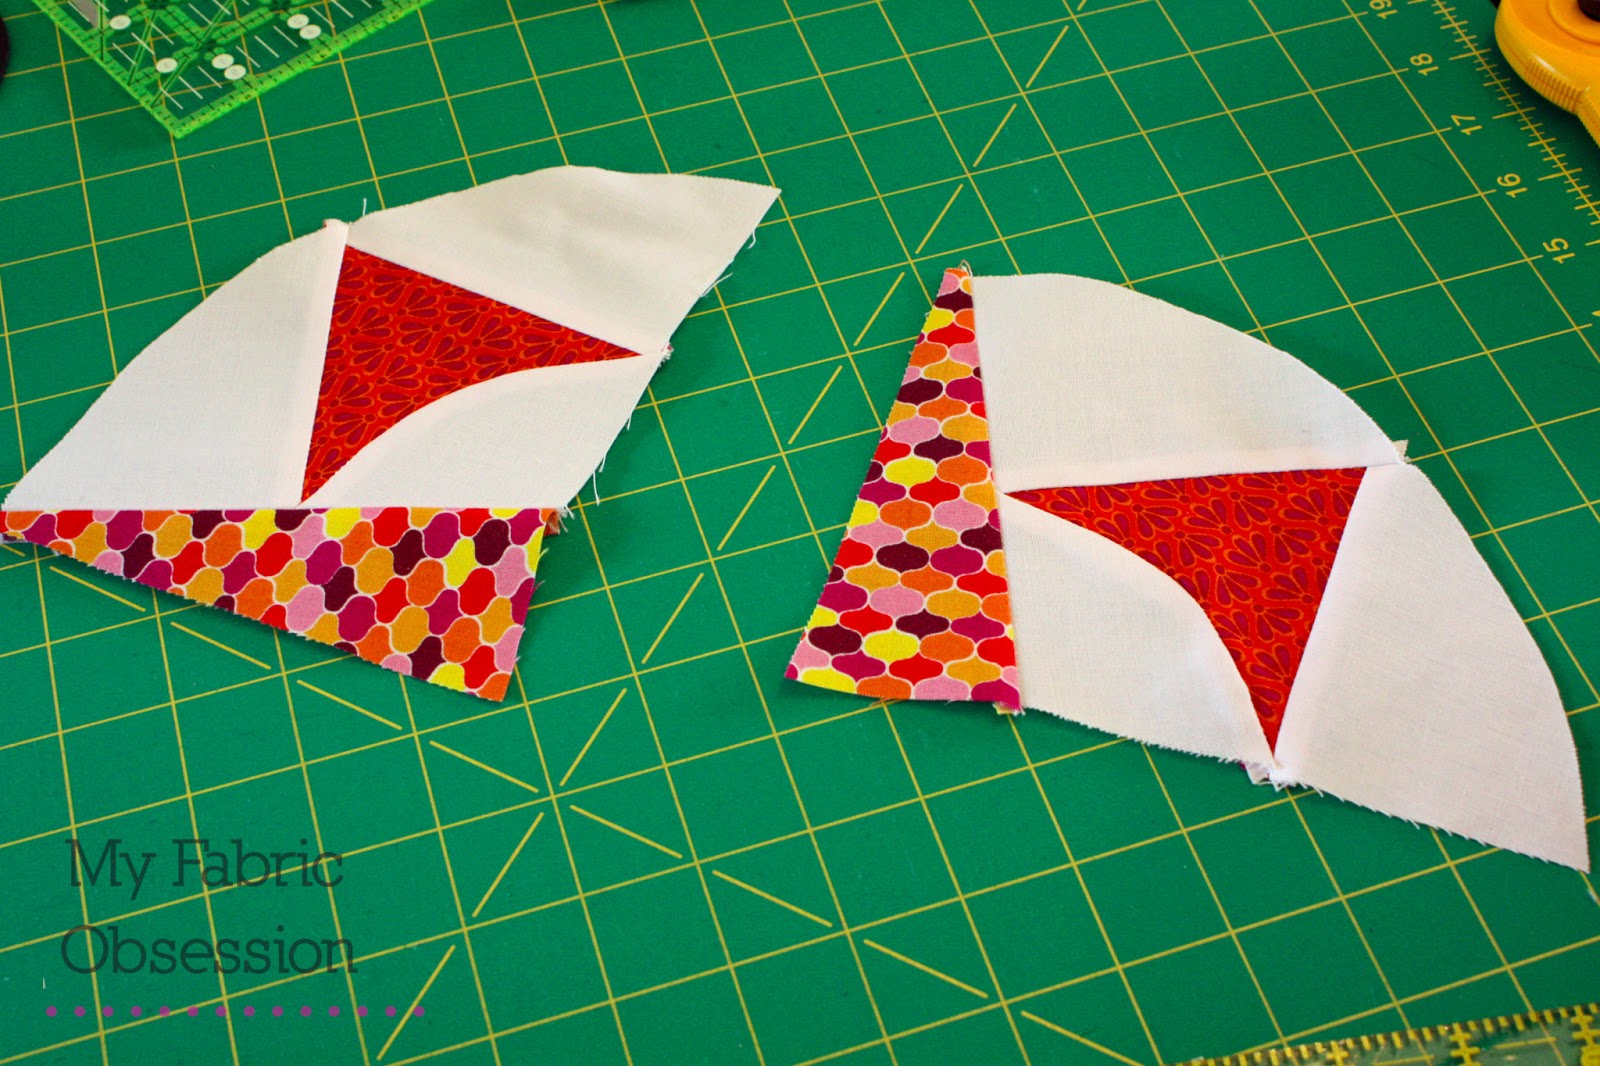
There are a million ways to do applique, this is just what I do (correct or incorrect). My block is a take on scallop quilts. Here is the link for how to make the clamshell shape. You will need to make 9 clamshells for this block. I made my clamshells with a 4" square. Thanks to Amy, here is a template you can download.

I'm not going to go into detail on prepping the piece for sewing since there are also a million ways to do this. I used a plastic, iron resistant template and starch to turn my edges. Another favorite method is freezer paper - google it and you'll get lots of great tutorials. When you make the scallop, you only need to turn the top rounded edge for all pieces except for the bottom since the other pieces will be sewn over. This will make more sense when you see the pictures.

One quick tip for when you are prepping your pieces. If you have a circle cut ruler it can really help cutting the piece.  Here you can see the marker line on my plastic template and then I cut on the 4" line above that.  You can just freehand it since you'll be folding that under, but the circle template makes it much easier if you have one.


So, on to your supplies. I used a mono-filiment thread in clear that I got at my LQS.

This comes in a smoke color too if you are using dark colors.


Or you can just use a thread color that matches your fabric choice.

Next is your settings on your machine. You should get some practice fabrics to test out the right settings. I found that I need to use the mono-filiment in the bobbin as well as the top or I could NOT get a good tension going. (Be aware when winding your bobbin - the mono-filiment can get hot if spun too fast around pegs on the top of the machine).

I used stitch #27 below. Find the similar stitch on your machine. You want the machine to stitch 3 or 4 times in a straight line, then take a notch to the left. On some machines you might have a stitch like this that goes to the right and be able to reverse it. My machine is not that fancy.

Then you should bump up your width and stitch length a bit. You can see below that I did 2 notches  on both of them and that I have my machine on 1/2 speed. I have a lead food and this isn't the time for that!


Once you find your settings, I recommend putting a note on your machine so if you have to come back to it later you'll know where you were.


Okay - that was the time consuming part. The rest is easy peasy, I promise!

First we need to lay everything out as we want it to be finished. This is what our finished block  will look like.


Pin the top scallop down and remove the rest. I'm not a big pinner so I didn't use a lot. Please use what you are comfortable with. And only pin the top scallop (unlike my photo above).


At the machine, make sure all your settings are correct. We are going to sew around the top edge only. The straight line stitches will be outside the scallop like this:


Then the little hop to the left will catch your scallop like this:


Can you see your stitches? They should look something like this (if you can see them!)


Stitch across the entire top only. Don't worry about the bottom portions. We'll lay out the next scallops and they will cover that up! Pin them and sew.


Sew across those two and repeat each row until finished. Then it's time to trim to  7.5" by 14.5".


And you have your finished block!


I had a hard time photographing the stitches so you could see them. They are so hard to see and so hard to photograph. In my opinion, that's what you want! Look, you can see the dirt on my fabric, but not the stitches! HAHA!


Hope you found this tutorial helpful. Some of the steps were hard to describe so please ask if you have any questions! And don't forget that Amy's going to have prizes on her site at the end so link up your finished tops there!


Monday, January 14, 2013

Daisy Janie - New Leaf Blog Hop


Welcome to the first stop on the New Leaf Bee Block Blog Hop! Thank you to Jan Dicintio of Daisy Janie Fabrics for inviting me to join her. She's introducing her newest fabric line New Leaf and of course I said yes right away when she asked me! Her designs are beautiful and her commitment to creating quality organic cottons is so awesome.

I was really excited when my package of fabric arrived. And it did not disappoint, New Leaf is gorgeous! And it felt way softer than my past experiences with organic cottons. It is really quite beautiful.


Our inspiration for the blocks was about turning a new leaf, growth, new directions and such. The new direction I've been heading recently is actually towards the past. I've been really interested in vintage quilts and started looking at some compass blocks. I found this amazing compass block and decided to recreate it with a modern flair. If anyone knows the name of this block or anything about it I'd love to hear it! I wasn't able to find any identifying information about it.


Here is how I constructed the block. As I mentioned, I had a picture of a vintage quilt. I resized that photo to create a 12.5" block. From the printout I created templates. I drew over the seams with a marker to make them darker, then traced on template plastic.  Here is a PDF of my block at actual size that you can use to do the same thing.


Then the templates were cut out.


I used the templates to cut out the pieces making sure to add 1/4" seam allowances and started sewing together. Here is the order I used. Started with these.


Then put them together to get this.


Get everything together in a big circle.


Sew together all the outside pieces first and then sew them to the center circle.


The first test block I did, I pieced the center circle. It didn't come out very accurately so this time I did it with machine applique. I would recommend doing it that way if you try this block. Lay your template plastic over the block and create a circle that will cover all your raw edges. I used a compass and marker, but you can use anything you have to trace a circle around it (bottles, toilet paper rolls, etc).


From there you can create your center applique pieces and attach them with your preferred method. And your block will be finished!


I hope you like my modern vintage block. I really think these fabrics give a bright modern feel! Thank you so much Jan for letting me  participate in your blog hop! I'm excited to see New Leaf in the stores and get my hands on some more. You can find out where to get some here.


The blog hop will continue tomorrow at The Little Red Hen. Here's the rest of the schedule:

New Leaf Bee Block Blog Hop Schedule
Mon, 1/14 - Becky Moyer, My Fabric Obsession - you are here. ;)
Tues, 1/15 - Lynn Harris, The Little Red Hen
Wed, 1/16 - Candy Glendening, Candied Fabrics
Thurs, 1/17 - Holly DeGroot, Bijou Lovely
Fri, 1/18 - Melanie Thornton, Melanie Dramatic

Mon, 1/21 - Emily Cier, Carolina Patchworks
Tues, 1/22 - Rachael Gander, Imagine Gnats
Wed, 1/23 - Maureen Cracknell, Maureen Cracknell Handmade
Thurs, 1/24 - Leanne, She Can Quilt
Fri, 1/25 - Cindy Wiens, Live a Colorful Life

Mon 1/28 - Cheryl Arkison, Dining Room Empire
Tues, 1/29 - Jacquie Gering, Tallgrass Prairie Studio
Wed, 1/30 - Shanna Bailey, Fiber of All Sorts
Thurs, 1/31 - Katy Jones, Monkey Do


The FQ Scramble letter is:N


Monday, January 7, 2013

Something New Sampler Blog Hop

So I promised you some new fun things this year and this is one of them! I joined up with the Something New Sampler to help everyone try something new this year. So if one of your sewing resolutions was to try and learn new things this year, this is a great opportunity. I know I'm looking forward to trying some new techniques! Here's all the information.


something new sampler header

Looking for your next project?
Resolved to learn some new sewing skills this year?
Want to win some great prizes?

Then join in the blog hop for The Something New Sampler!

Each week, one or two bloggers will present a block tutorial with an uncommonly used technique. There will be a total of 9 blocks presented. And, just to mix it up, we're going with a funky modern block size - 7" x 14"! We'll have plenty of suggestions on how to use this block shape along the way. There's no need for our modern blocks to always be square :)

Here's our schedule:

Jan 14th
Amy @ thecutelifesmiles.blogspot.com | Bargello piecing

Jan 21st
Heidi @ buttonsandbutterflies.com | folding 
Chelsea @ pinsandbobbins.blogspot.co.uk | a scraptastic technique

Jan 28th
Jess @ theelvengarden.blogspot.com.au | sashiko
Lindsay @ lindsaysews.com | reverse applique

Feb 4th
M-R @ quiltmatters.blogspot.com | trapunto
Heidi @ fabricmutt.blogspot.com | cathedral windows

Feb 11th
Alyssa @ pileofabric.com | pinless curves
Becky @ myfabricobsession.blogspot.com | machine applique - YAY Me!


And stop by the cute life on Fridays for tips and tutorials on how to set these rectangular blocks! Posts will be up on the following dates:
Jan 18, Jan 25, Feb 1, Feb 8, Feb 15

Be sure to join the flickr group to keep up with the hop, the chatter, and some inspirational photos.

Prizes!!
At the end, link up a blog post or flickr photo with anything you've done from the sampler series, even if it's just one block! There are two categories for prizes:

- finished projects, winners will be chosen by popular vote
"finished" includes an entirely completed smaller project, like a pillow, table runner, mini quilt, etc.
pieced quilt tops also count as "finished", even if not quilted

- participation prizes, winners will be chosen by a random number generator
link up any progress you've made!

Prizes for the Something New Sampler

Fort Worth Fabric Studio is an online fabric shop with yardage and some fantastic custom bundles you won't find anywhere else! One of these bundles - the Lagoon bundle - is a prize, and it is centered around Michael Miller's Lagoon line, with 18 fat quarters. You can also sign up for their newsletter to be eligible for a monthly prize. In addition to the bundle, they are also offering a $25 gift certificate.

Cotton Blossom Farm stocks great designer fabrics with plenty of modern options. One great feature of this website is the ability to search through fabrics based on categories such as color - it's just like shopping in a brick and mortar shop! You have the chance to win a set of ten 1/2 yards (of your choosing!!) of Simply Color from them.

Fat Quarter Shop is another online shop that sells yardage and precuts of some of the most popular fabrics. They offer next day shipping and have an incredibly large selection! Fat Quarter Shop also has a great selection of other items, such as books, magazines, and kits. They have generously donated a jelly roll of Paris Flea Market and an Amy Butler pattern for prizes.

Sew Me a Song is an Etsy shop that stocks Japanese and contemporary fabrics. Becca puts together some fabulous bundles of texty prints, polka dots, and - of course! - lots of Melody Miller prints. Don't miss the great collection of Type by Julia Rothman. She has created two custom bundles especially for our sampler event, one with six texty fat quarters and one with eight japanese prints. 


Thursday, September 27, 2012

My stop on the Tula Pink Sew Along

I am so thrilled to be part of Sara's Tula Pink Sew Along. You all know my addiction for Tula Pink and her fabrics (just search my blog for Tula Pink and you can see my many projects!). So when Sara asked me to do a pattern review I jumped at the chance. Today is my stop on the blog so check it out right here.

More information on the Sew Along  and how you can participate:


Here is the schedule of guest posts that will appear:

Sept 24 - Sara @ Sew Sweetness (Dream Weaver/book)
Sept 25 - Katie @ Katie's Korner (Beanstalks/book)
Sept 26 - Lisa @ That Crazy Quilty Girl (Cloudy Day/book)
Sept 27 - Becky @ My Fabric Obsession (Houndstooth/book)<----you are here! 
Sept 28 - Caitlin at I Don't Do Dishes (Spiked Punch)

Oct 1 - Amanda @ A Crafty Fox (Alphabet)
Oct 2 - Michelle @ City House Studio (Fade to Pink)
Oct 3 - Marci @ Marci Girl Designs (Le Petite Salon)
Oct 4 - Katie @ There and Back (Field Study)
Oct 5 - Lorelei @ Mermaid Sews (Hushabye)

Oct 8 - Anorina @ Samelia's Mum (Pancakes)
Oct 9 - Jenna @ Sew Happy Geek (LOVE)
Oct 10 - Lindsey @ LR Stitched (Fairy Tale Lane/book)
Oct 11 - DeeDee @ mybricole (Any Which Way/book)
              Beth @ Plum and June (Cartwheels)
Oct 12 - Katy @ The Littlest Thistle (Crown Jewels)

Oct 15 - Colleen @ The Busy Bean (Shattered Glass/book)
Oct 16 - Kristen @ KD-Quilts (Stacks/book)
Oct 17 - Roseann @ Rosebud's Cottage (Shattered Glass/book)
Oct 18 - Emily @ Mommy's Naptime (Lollipops/book)
Oct 19 - Jeannette @ Gone Aussie Quilting (Honey Honey)

Oct 22 - Brenda @ Pink Castle Fabrics (Windswept)
Oct 23 - Bianca @ Sweet Diesel Designs (Stacks/book)
Oct 24 - Jessica @ Sew Crafty Jess (Snow Globes)
Oct 25 - Elizabeth @ Don't Call Me Betsy (Space Dust)
              Lindsay @ Lindsay Sews and Craft Buds (Cherry Pie)
Oct 26 - Kim @ My Go-Go Life (Kiss Kiss)
              Kim Munoz (Grand Salon/book)


You also have your own opportunity to make a Tula quilt, bag, dress, whatever! You have until Monday, November 12, 2012 to make something and be eligible for some outstanding prizes!! Here are the rules to be eligible for entry into the contest:

1. Join the Tula Pink Sew Along Flickr Group.

2. To be counted for entry into the contest, get sewing!! Sewn item must be made from a Tula Pink pattern (or from her book) *OR* made from at least 50% Tula Pink fabric (such as a bag, dress, etc.). If you are sewing from a Tula Pink pattern, the fabric does not need to be Tula Pink fabric.

3. If you will be adding an item to the pool to be counted as an entry, it must be sewn and photographed from September 24th through November 12th, 2012. Any items completed before September 24th are not eligible.

4. You may add up to 2 photographs per item.

5. You may add as many items as you want, as long as you made them each within the time frame. If you are making a quilt, the quilt top is adequate to be entered. Anything smaller (mug rug, mini quilt, bag, dress) should be completely finished.

Tula Pink Sew Along
Now how about some discounts?!?
Tula Pink has generously offered a 25% discount on all PDF quilt patterns when you use coupon code tulatroop in her pattern shop. This code is good now through October 31, 2012.
My lovely sponsor, Brenda from Pink Castle Fabrics, has generously extended a 15% discount on all Tula Pink fabrics in the shop using coupon code TULA15. This code will be good now through September 30th.
If you don't already have the book, Tula Pink's publisher is offering a discount code so you can pick up your own copy! Use code TULA2012 when you purchase the book from the Martha Pullen store. Support publishers and authors by buying direct!
Prizes

Prizes will be announced soon, but here's a little sneak peak at the sponsors that have offered up their amazing products as prizes!
                  
So let's get ready to sew!!! Join me and head on over to the Flickr Group and get ready for some amazing Tula Pink eye candy! I can't wait to see what you create!


LinkWithin

Related Posts Plugin for WordPress, Blogger...